Google Tag Manager integration guide
Integrating the intent.ly tag into your website is quick and simple, just follow the guide below to get your tag live. Please ensure that the tag does not sit within an iFrame, as this will affect our ability to operate your campaigns.
1. Setting up Google Tag Manager
Setting up an account is easy, head onto https://marketingplatform.google.com/about/tag-manager/ and go though the “Start for free” process.
2. Adding a tag
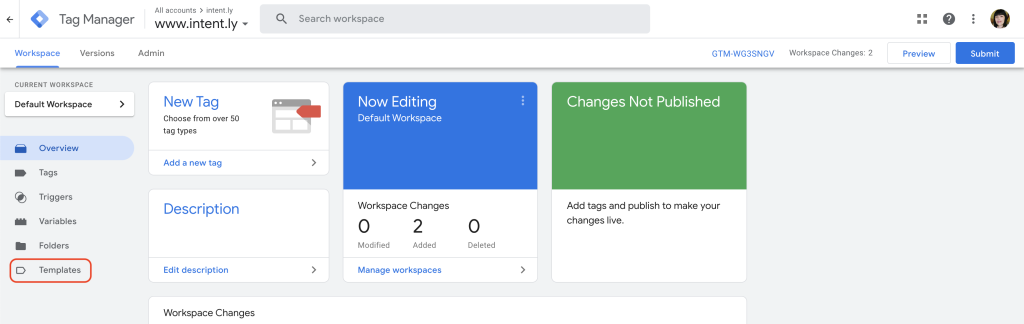
Now that we’ve added the tag onto our workspace, we need to implement it. To do so click on the Templates Button back on the Overview Page.
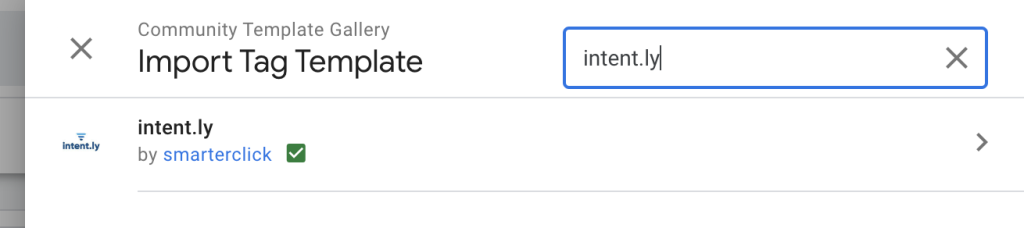
Now we’re going to import the tag template into our workspace, to do that click on the Search Gallery button.
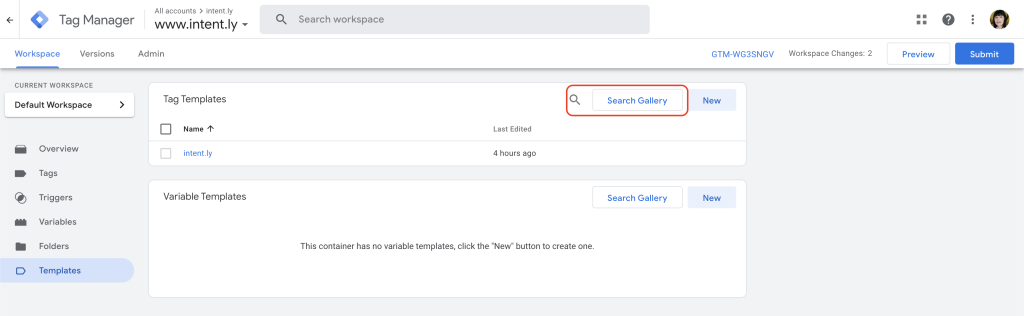
Where we can directly search for the tag by typing intent.ly
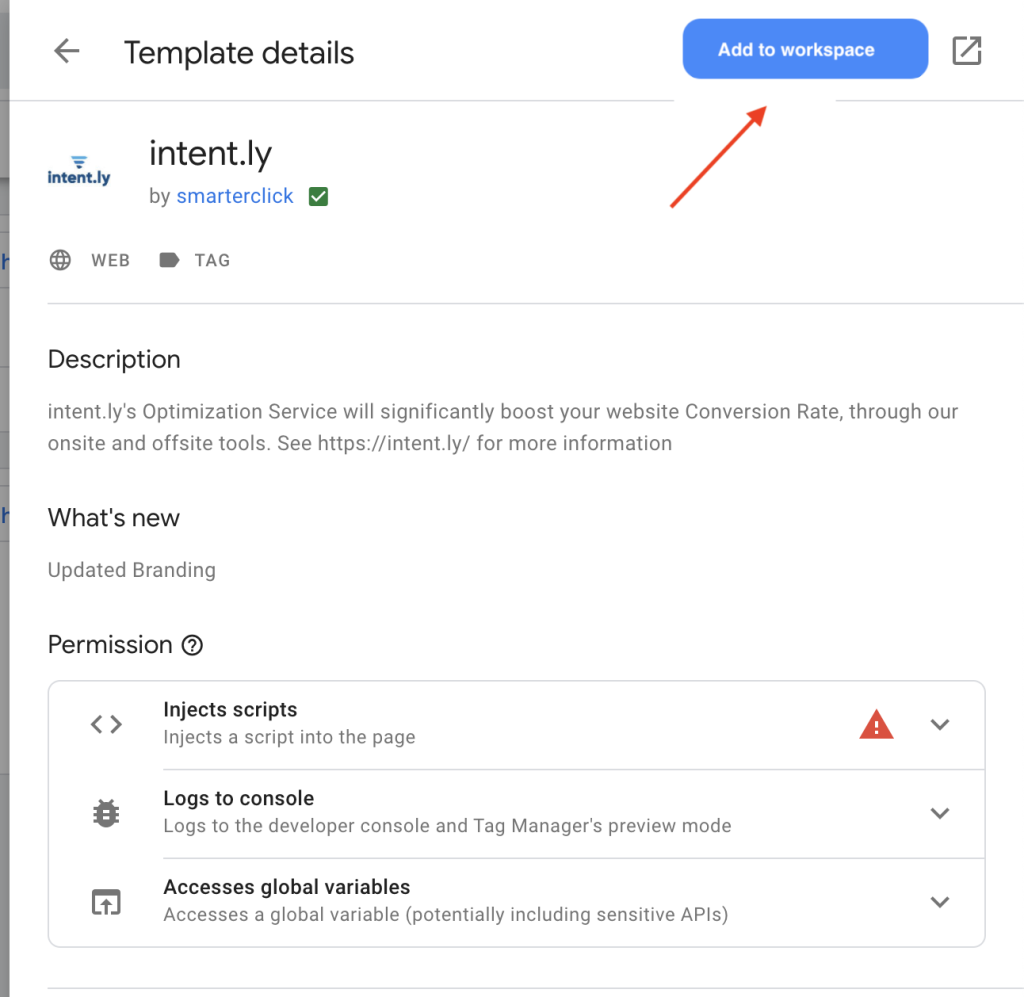
Once you’ve found our tag, add it using the Add to Workspace button on the top right.
3. Setting up the tag
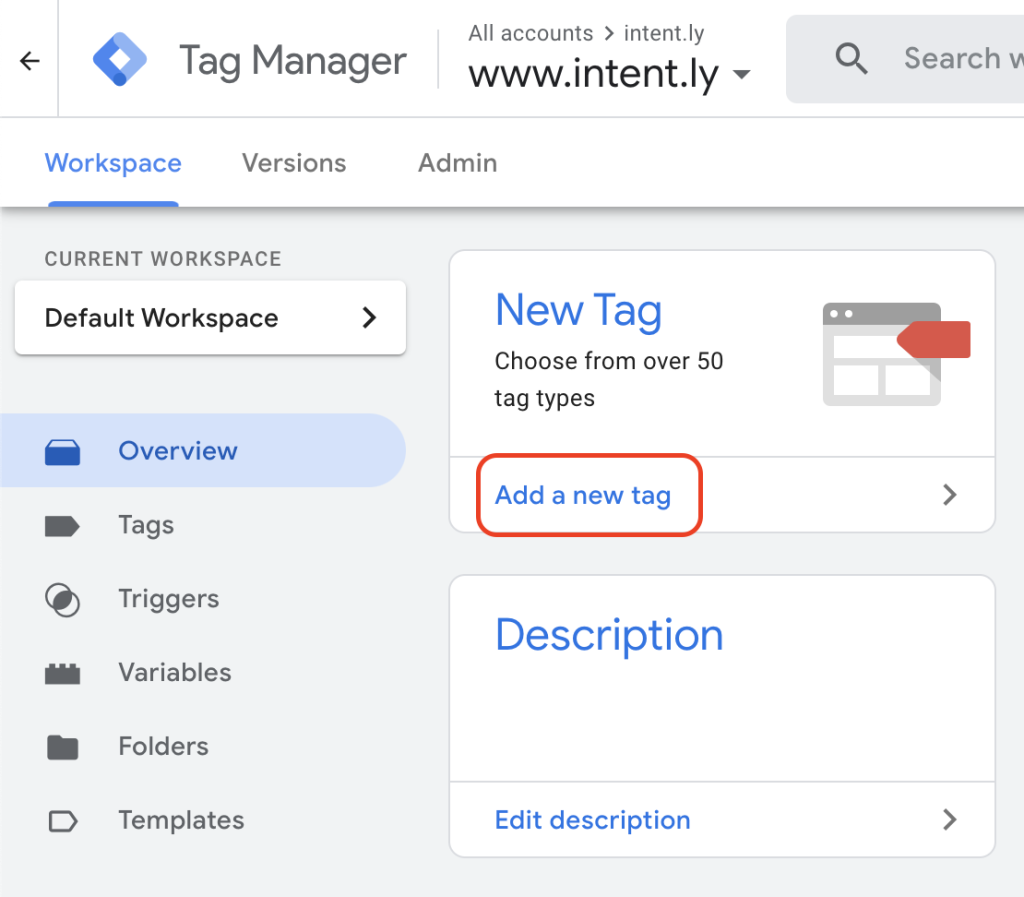
Now that we’ve added the tag onto our workspace, we need to implement it. To do so click on the New Tag button back on the Overview Page.
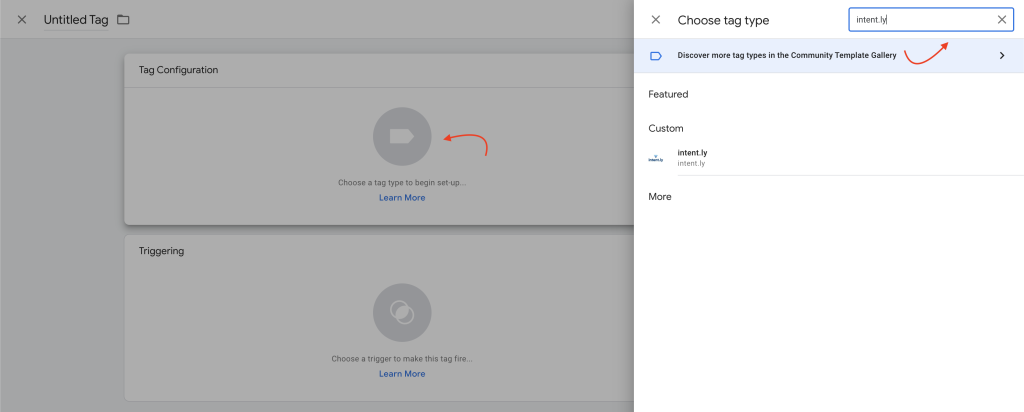
From here we can access the Tag Configuration page which allows us to import the previously saved tag. Just click on the Configuration and then search for intent.ly . To add the tag, simply click on the name.
Input the tag ID which will be your domain name in this format yourcompany.com. Alternatively speak to your intent.ly contact who will confirm the ID needed.
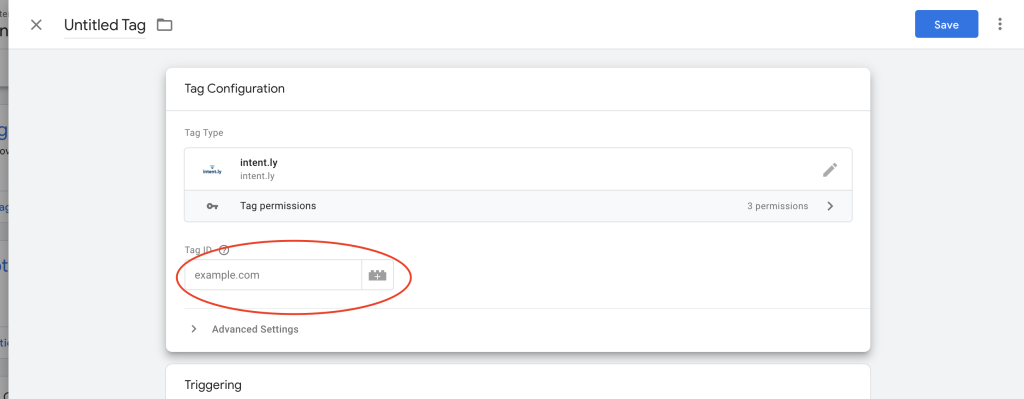
Lastly we need to add a trigger, this can be done by clicking on the Triggering tab. Here we can select all the pages where we want the tag to be installed on. In our example we chose All pages. Once done just press Add.

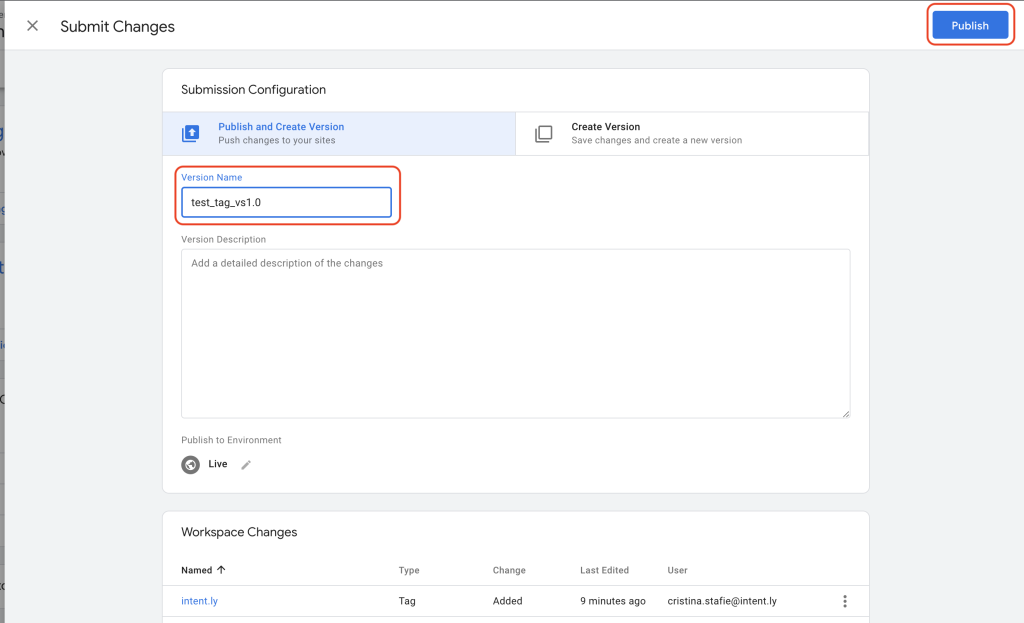
4. Publishing the tag
Once we’re ready to publish our tag, head back to the Overview Tab and find the Submit button in the top right corner of the screen.
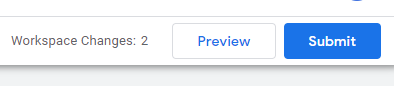
Before publishing you’ll need to assign a version name and description which will later help you identify all of your updates, Once done press the Publish button and you’re done!
When implementing the tag, please ensure that it does not sit within an iFrame. Contact support@intent.ly if you have any questions.